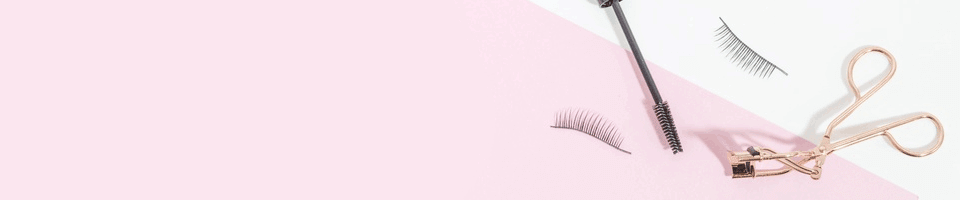
False Eyelashes
In this article we�ll look at some tips and tricks to make applying false lashes easier.
How to apply false lashes
False lashes can be the perfect finishing touch to your look, but mastering application can be tricky. Read our article below for an easy to follow, step-by-step guide.
Step 1 � Remove your lashes from the packet
While this might seem like a simple first step, removing your lashes from the packet needs to be done carefully. False lashes are very fragile and can easily bend and break. As well as this, even if it isn�t obvious, lashes do have a left and right.
Hold the packet under your nose with the lashes at the top, facing outwards. This will help you to identify the left and right lash. They will be stuck to the packet, so to remove them you should always peel from the outer edge. If you bend the lash on the outer edge, you may be about to trim it off anyway. Just be gentle.
Step 2 � Measure and trim the lashes
If the strip on your lashes is too long, it can irritate the inner corner of your eyes or pull them down by hanging over.
To measure the lash, rest the strip along your natural lash line. The lash should start where the natural bulk of your lashes begins, and end 2-4 lashes in from the outer corner of your eye. If you do need to trim your lashes, do it from the outer corner. Use a small pair of scissors to make a cut on the lash band, don�t cut through the lashes or you�ll lose half of the lashes you want to keep.
Step 3 � Stop the pop
Even if you have removed your new lashes from the box gently, you may find that they have become flat. When this happens, the inner and outer corners of your lash can pop up after you�ve put them on. To stop this happening, gently wrap your lashes around your finger or a makeup brush and leave them for a minute. This will help to maintain their curved shape, as well as make them less stiff and easier to adjust when applying.
Step 4 � Apply the glue to the lash
Now your lashes are the right length and shape, it�s time to apply the glue. Using the applicator that comes with your lash glue, apply a thin layer along the lash band, from corner to corner. You can use more glue if you are wearing your lashes for a long time or need extra strength.
Wait 30 seconds before applying. The glue should be tacky, not wet. This will make all the difference in your application process.
Step 5 � Apply the lash
Now comes the tricky part! Remembering where you sized and trimmed your lashes to fit, try to stick them as close to your natural lashes as possible without actually touching them. If possible, use a handheld mirror and hold it so you are having to look down. This can make it easier to get close to your natural lashes. Make sure you press the lashes down in the centre and at each edge, and hold them in place for 20-30 seconds to ensure they stick.
Step 6 � Finishing touches
To bond your natural lashes to your false lashes, apply a coat of mascara. If you want your lashes to have a bit more lift, you can gently push up against the outer edge of your lashes.
Done!
Learning to apply false lashes can be tricky so if you�re struggling, don�t give up! Keep practicing and before you know it, you�ll be a falsie expert.